Monday 2 June 2014

Caribbean Coconut and Mango Cupcakes

One of my colleagues is a vegan and I don't like the idea of leaving anyone out when I bring cakes into the office. With this in mind, I wanted to try my hand at baking without any animal products and I was very happy with the results - I think you will be too.


Since another colleague had helped me with some design work and I thought cupcakes would be a great way to say thanks. I asked him if he wanted anything special to which he replied, 'something with mango in it'. So I went on the hunt for a recipe that was vegan and would pair well with mango 'buttercream'. I immediately thought about coconut since the two go exceptionally well together.

Keen to really pack a mango punch I needed the butercream to be impressively fruity and my biggest concern was how to make the buttercream taste like real buttercream - the mouth-feel is so important. Creamy but not greasy on the lips. I think I've managed to get close, but it's something I want to work on so expect there will be other non-dairy buttercreams on the blog in the coming months.

I've adapted Chloe Coscarelli's coconut layer cake that you can find here.

Ingredients:
For the cake
460g plain flour
450g sugar
1tsp salt
1tsp baking powder
500g unflavoured soy milk
60g white vinegar
200g Trex (vegetable shortening)
2tbs rum
185g desiccated coconut (unsweetened)

For the frosting
250g Trex
750g icing sugar
100g - 150g mango pulp

Yields 36 small cupcakes or 18 large cupcakes.

For the cakes
  1. Preheat the oven to 175C/350F.
  2. Line a cupcake tin with liners.
  3. Mix the soy milk, rum and the vinegar together in a bowl and set aside for 10 minutes to curdle.
  4. Stir together the coconut, flour, baking powder and salt and set aside.
  5. In a mixer with the paddle attachment cream together the sugar and the Trex until light and fluffy.
  6. Add 1/3 of the flour mixture and then half of the soy milk mixture. Continue until both the wet and dry ingredients are mixed together. Do not over mix.
  7. Fill the cupcake tin using an ice cream scoop and place inside a preheated oven.
  8. Bake for 20-25 minutes until golden turning halfway through.
  9. Let cool completely before frosting each with the mango buttercream.
For the frosting
  1. In a mixer with the whisk attachment, beat the Trex until light and fluffy. 
  2. Add icing sugar in 250g portions and mix until you have incorporated all of the sugar.
  3. Add in the mango pulp and mix until combined and a consistency that is easy for you to work with.

Unlike other vegan cake recipes the mixture can sit whilst you bake the cupcakes without causing the finished cupcake to fall. It seems to be a rather forgiving recipe and it has the seal of approval from both vegans and non-vegans. Next time I make a vegan cake I'm going to try coconut butter alongside the Trex to improve the buttercream.

Monday 5 May 2014

Mouthwatering Margarita Cupcakes

Lemon Drizzle cake has to be one of the most requested cakes I ever make and I must admit that I get a little bored making it over and over again. Rather than go on strike and never make another, I decided to make a few changes and ended up with a real treat.


Always true to my Tex-Mex roots, I love a good margarita – especially frozen, which gives away the fact that I'm a Dallasite. So I figured why not make a margarita cupcake and went about looking for a recipe. It wasn't long before I was struck by a rather obvious idea… why not adapt a lemon drizzle cake?

I went to my cookbook library to find the best recipe to adapt and I found the perfect version to tinker with in Paul Hollywood’s ‘How to Bake’.  Any recipe that calls for ground almonds won't do because the taste of almonds would come through. I doubled the recipe, swapped out lemons for  two limes and an orange, and used a shot of tequila rather than lemon curd.  No doubt you could substitute rum for the tequila and make yourself daiquiri cupcakes instead.

These are ideal for having a simple Cinco de Mayo celebration or any other time you want to have a treat! Enjoy.

Makes 12 large or 18 medium cupcakes.
Preheat the oven to 180°C/355°F

For the cake 
Ingredients:
150g unsalted butter
250g sugar
300g flour
½ tsp bicarbonate soda
1tsp cream of tartar
4 eggs
45ml tequila
2tbs milk
Zest and juice of two limes
Zest and juice of half an orange (save the other half for the frosting)

For the drizzle:
Ingredients
100g caster sugar
50g icing sugar
juice of two limes
35ml tequila


  1. Using the paddle attachment, cream the butter and sugar and beat until light and fluffy, approximately 5-10 minutes.
  2. Add the eggs one at a time and then add in the lime and orange juice and mix thoroughly.
  3. Mix in half of the flour, bicarb, cream or tartar, and zest and once combined add in the second half and mix the rest by hand.
  4. Line a cupcake tin with liners and using an ice cream scoop fill the cupcakes 2/3 of the way full and place in a preheated oven. After ten minutes, gently turn the pan and leave to continue baking for another ten to fifteen minutes until done.
  5. Mix the sugar, juice and tequila just before the cupcakes are ready to come out of the oven. While still hot, drizzle over the glaze on each cupcake and let cool. Once cool decorate with margarita Swiss meringue buttercream.

Saturday 22 February 2014

Chewiest of Brownies

Brownies are very much an American treat and for me they have to be chewy and soft; I’m not interested in cake-like brownies at all. These are easy to throw together, very forgiving, and I often make them by hand because they’re that simple to make. 


One of the best things about brownies is the universal appeal because you can make them as refined as you'd like by just adding extras to them. Want to impress the kids? Add in some marshmallows or popping candy. Want to impress the adults? Drizzle salted caramel over the top with chopped truffles. Practically anything can be added to make them into your very own creation.

For the brownies that P asked me to make for his colleagues, I’ve added in fresh raspberries and white chocolate. Just make sure the chocolate that you use is one that you’d be happy to eat on its own.

Ingredients
200g dark or unsweetened chocolate broken into pieces
100g white chocolate broken into pieces
250g butter
100g white sugar
75g brown sugar
4 large eggs
140g plain flour
50g cocoa powder, sifted
200g fresh raspberries
100g chopped

  1. Preheat the oven to 180C
  2. Break up the pieces of chocolate, cube the butter and place in a large microwave safe bowl. 
  3. Heat together in 30 second bursts until melted.
  4. Add the sugar and the eggs one at a time and mix thoroughly.
  5. Sift the cocoa powder and mix well.
  6. Add in the flour and mix until just incorporated.
  7. Stir in the raspberries and chocolate.
  8. Pour into a prepared 9x12 tin and bake for 25-30 minutes.


Thursday 20 February 2014

Fabulously Vanilla-y Cut-out Cookies


When it comes to cookies or biscuits I’m very much a fan of the scoop and bake method; however, there are sometimes when you just have to make the more labour intensive cut-out type.


P and I became the proud parents and the most adorable fur baby that we named Dougal last November.  Dougal is a Dandie Dinmont, which is a Scottish breed and one that is on the Kennel Club's vulnerable breeds list. We wanted a smallish dog that could cope with life in a London flat and we came upon the breed in our research. When we saw the Dandies at the Discover Dogs Show at Earls Court we were smitten and decided right then it was the breed for us. When our lovely landlady said we could get ourselves a puppy we got in contact with the Dandie Dinmont Club and headed all the way to Sheffield to pick up our sweet little boy.
Dougal aged 4.5 months
Being a lover of all things baking I had a little search online and came across a Dandie Dinmont cookie cutter and I knew I had to have one. I could only find one that was stateside so I had it sent to my mom back in Texas and when she got enough things that I had sent gathered together she sent it to me in a big package. When the package arrived I couldn’t wait to try it on this recipe. You don’t have to have this marvellous cutter to make the cookies but it doesn’t hurt.

This is one of those recipes where it tastes just as good raw as it does fully cooked. I've used Martha Stewart's royal icing recipe to decorate the cookies.
Ingredients

Ingredients

For the cookies
225g softened butter
200g caster sugar
1 egg
56g cream cheese
1/2tsp vanilla extract
420g plain flour
1/2tsp salt
Icing sugar for dusting

For the royal icing
500g icing sugar
2 large egg whites
125ml water

Yields approximately 2-4 dozen cookies depending upon the size of the cutter and the depth of your dough.

Instructions
For the cookies
  1. Cream together the sugar and butter with the paddle attachment in a mixer.
  2. Add in the cream cheese until combined and then add the egg and mix until thoroughly combined.
  3. Add in the vanilla and any other flavours you desire.
  4. Add one third of the flour and slowly mix together. Once this is just combined, add in the second third. Continue until you mix in the final third. The dough will be very thick.
  5. Turn the dough out onto some cling film and wrap tightly and refrigerate for at least an hour – overnight preferably.
  6. Once your dough is well chilled cut a quarter of it off and wrap up the remaining dough and refrigerate.
  7. Preheat the oven to 180C/350F
  8. Dust the work surface with icing sugar making sure to dust your rolling pin.
  9. Roll the dough into a rectangle shape about ¼- ½ centimeter thickness depending on how thick you prefer your cookies.
  10. Cut out your cookies and place onto a lined baking sheet.
  11. Bake the cookies for 8-15 minutes, depending on the thickness, until just starting to colour.
  12. Let cool on the baking sheet for 5 minutes before transferring to a wire wrack to cool completely.
  13. Once completely cool you can decorate.
For the icing
  1. In a large mixing bowl add the icing sugar and the egg whites and slowly mix with the whisk attachment.
  2. Once this starts to pull together add in a few tablespoons of the water.
  3. For the outline piping keep the icing thicker and for the flooding icing loosen with a bit more water.
  4. Colour with gel food colouring to ensure you keep the desired consistency.
  5. Add in a small amount of flavouring if you so desire.


You’ll notice that I’ve specified plain flour and I haven’t included any bicarbonate soda or powder in the recipe. This is because I wanted to keep the shape as true to form as possible and leaving them out helps tremendously.


Wednesday 19 February 2014

A Cake Worthy of a King


The first time I ever tasted King Cake was when I was a student at Centenary College of Louisiana, roughly a month before Mardi Gras. I was already familiar with Mardi Gras, but I had never experienced the delights of the King Cake until then. What a happy day that was.


A King Cake, named for the three kings who visited the infant Jesus, is only available between Epiphany and Mardi Gras. During Mardi Gras season, folks in Louisiana host King Cake parties and the person who finds the baby inside hosts the next King Cake party.  This goes on and on throughout the season and the parties get livelier and more raucous as Mardi Gras approaches. Unfortunately I often start thinking about devouring a piece of King Cake around September which makes the agony of waiting so much worse.

Don’t let the name fool you; a King Cake isn’t what you might normally think of as a proper cake. It’s an enriched bread dough that is traditionally filled with cinnamon and sugar, topped with fondant icing and sprinkled with gold, purple and green sugar. 

You can make this either by hand or with a mixer and it will turn out great.

Ingredients:
For the dough
60g butter
500g plain yogurt or buttermilk
80g sugar
1tsp salt
2 packets of dry yeast (14g)
1tbs sugar
125ml warm water 43C/110F
2 eggs
985g bread flour, divided
1 plastic baby (can be omitted)

For the filling
125g sugar
½tsp ground cinnamon
80g softened butter

For the fondant
480g icing sugar
3tbs melted butter
3tbs full fat milk
½tsp vanilla

For the sugar
Yellow
Green
Purple

Instructions:
To make the cake
  1. Put the first four ingredients into a medium pan over a medium heat until the butter melts. Set aside and let cool to 43C/110F.
  2. Dissolve yeast and 1tbs of sugar with ½ cup of warm water in a large bowl and let stand five minutes until frothy. 
  3. Add yeast and butter mixture to a large bowl and whisk in the eggs. Once combined, add in 280g of the flour and beat for two minutes until smooth. If using yeast that can be added directly to the flour skip this step but add the water and the sugar to the yogurt/buttermilk mixture and the yeast to the flour.
  4. Gradually add the remaining flour to make a soft dough (not sticky)
  5. Turn the dough onto a floured surface and knead for ten minutes until it’s smooth and elastic. You can do this in a mixer with the dough hook as well.
  6. Place the dough into a well greased bowl, cover and place in a warm place for one hour until the dough has doubled in size. 
  7. Knock out the air and divide the dough in half and set one half to the side.
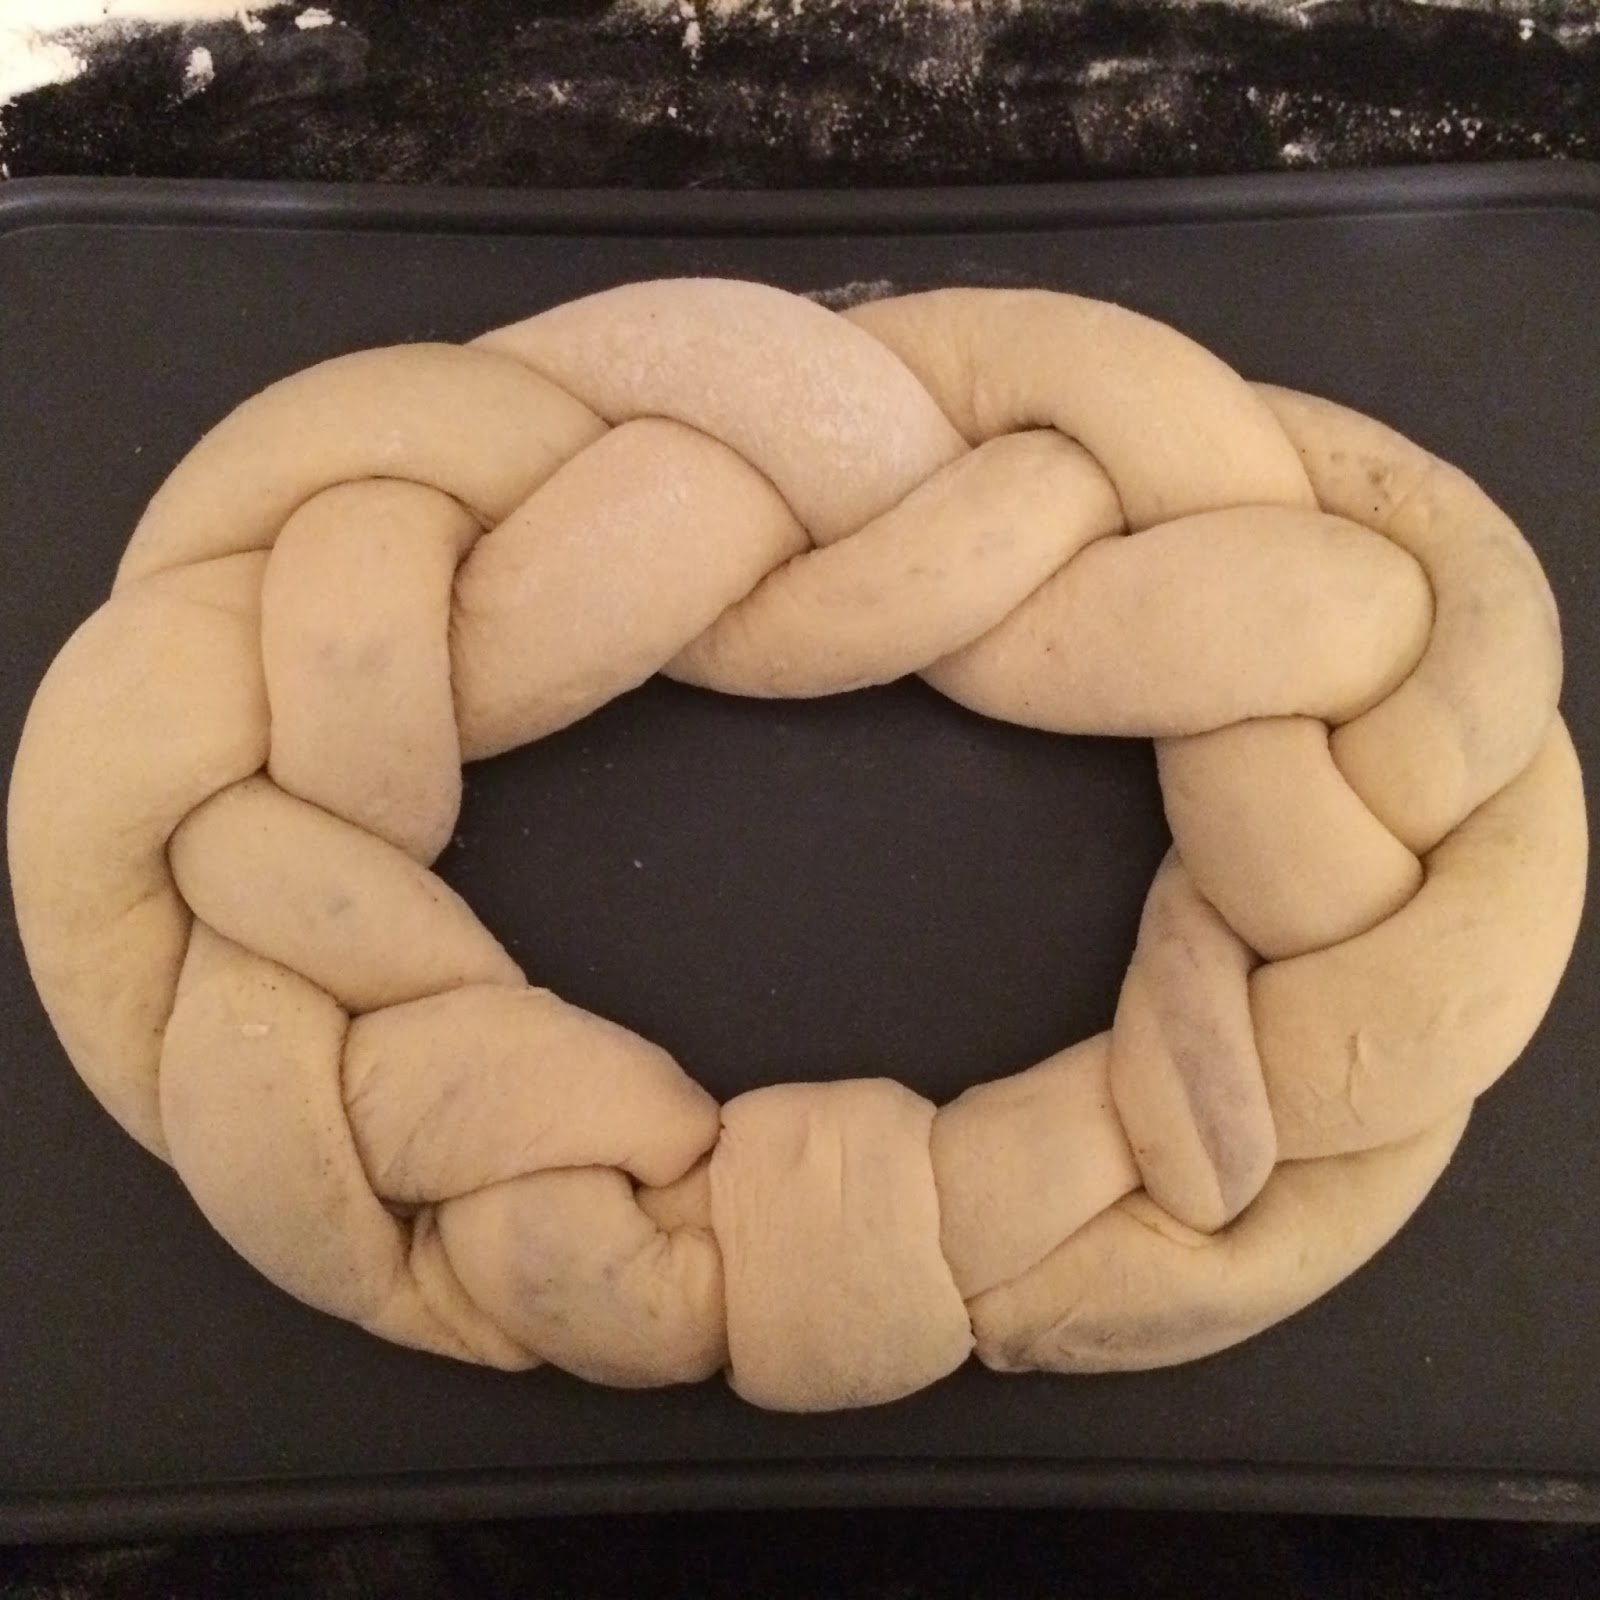
  8. Using a rolling pin, roll out the dough into a large rectangle that is about ½inch/1cm in height. Spread half of the butter over all of the dough and then sprinkle with the cinnamon mixture.  Roll the dough into a tube and then bring the two ends together to firm a circle. If you want to add in the baby you will need to do so before you roll it up.
  9. Place on a baking sheet, cover and set aside for 30 minutes for a second rise. Repeat with remaining half.
  10. Once the dough has risen put into a preheat oven at 190C/375F and bake for 15-20 minutes until golden brown.
  11. Remove from the oven and set on a wire rack and let cool completely.


To decorate the cake
  1. Add the sugar, butter, milk and vanilla to a bowl and whisk until smooth.
  2. Drizzle half the mixture over a completely cooled cake.
  3. Sprinkle the coloured sugars over the fondant in the order of purple, green, and then gold.


As long as the final cake is pulled into a circle you could do pretty much any decorative braiding or twisting to make your King Cake even more impressive.